

Hi there! Welcome to my very first blog post EVER! I thought it would be fitting because it will give you a little peek into my background. This tutorial will show you how to make a rustic shadow box that will turn any of your treasures into a rustic work of art!
My mom recently had a birthday, and she is one of those people that already has absolutely everything, so every holiday, every year, I have the same struggle of finding that perfect gift that will WOW her. Yep, I need it to wow, it’s just who I am! I know…you can judge me, it’s okay! 🙂 Anyhow, while I was brainstorming my next wowzer gift, I remembered my grandpa’s cattle brand plaque that I had recently removed from his cattle trailer (the trailer he built with his own hard working hands) and thought “ummm perfect!!”.
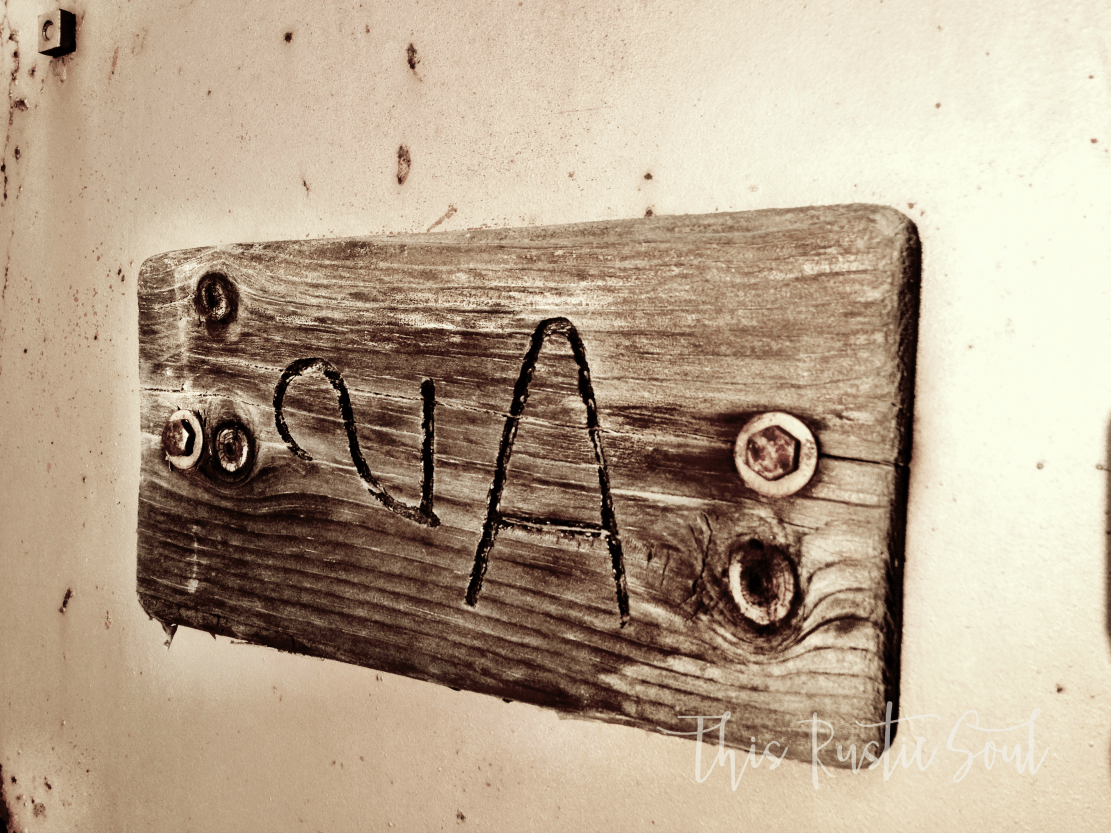
I can’t go any further without expressing some of the love that’s in my soul for my grandparents. My grandparents were, to say the least, my absolute favorite people (with the exception of my parents, of course, duh!) in this whole, wide, wonderful world. I was lucky enough to have some pretty amazing people around to teach me the “ropes” of life. You know, the do’s and don’t’s that every person should learn from those certain individuals that you hold above all others. One of those people was my grandpa. He was a pretty great guy. He fought through World War II then moved the love of his life to a little country town in California (where the streets were paved with gold, or so he claimed), and built a family along with a farming legacy. He was the best role model a little girl could have and I will always cherish his influence on my child hood.
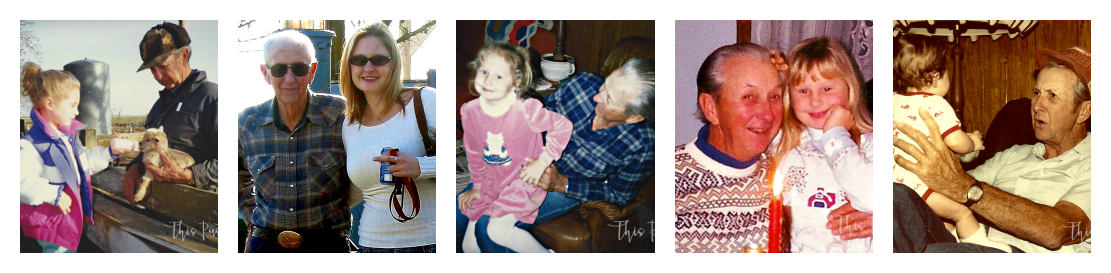
That’s him!! Okay, okay, enough with my sentimental gobly goop…on to the tutorial! You can customize this shadow box to any size you need for your particular item, but I wouldn’t recommend going much smaller without cutting down the front frame. Also, I used regular pine, but use whatever wood floats your particular boat. Here is the material list:
- 1 – 1x4x8 pine
- 1 – 1x6x8 pine
- 1 small sheet of plywood
- Rust-oleum Wood Stain in Dark Walnut
- Kreg Jig (you can countersink screws if you don’t have this)
- Wood screws
- Wood glue
- Rope
- Drill
- Drill bits
- Nail gun
- Finishing nails
- Miter saw
Okie dokie… step 1! Construct the box. Grab your 1x6x8 and use your miter saw to cut two 10 inch sections and two 15 inch sections.
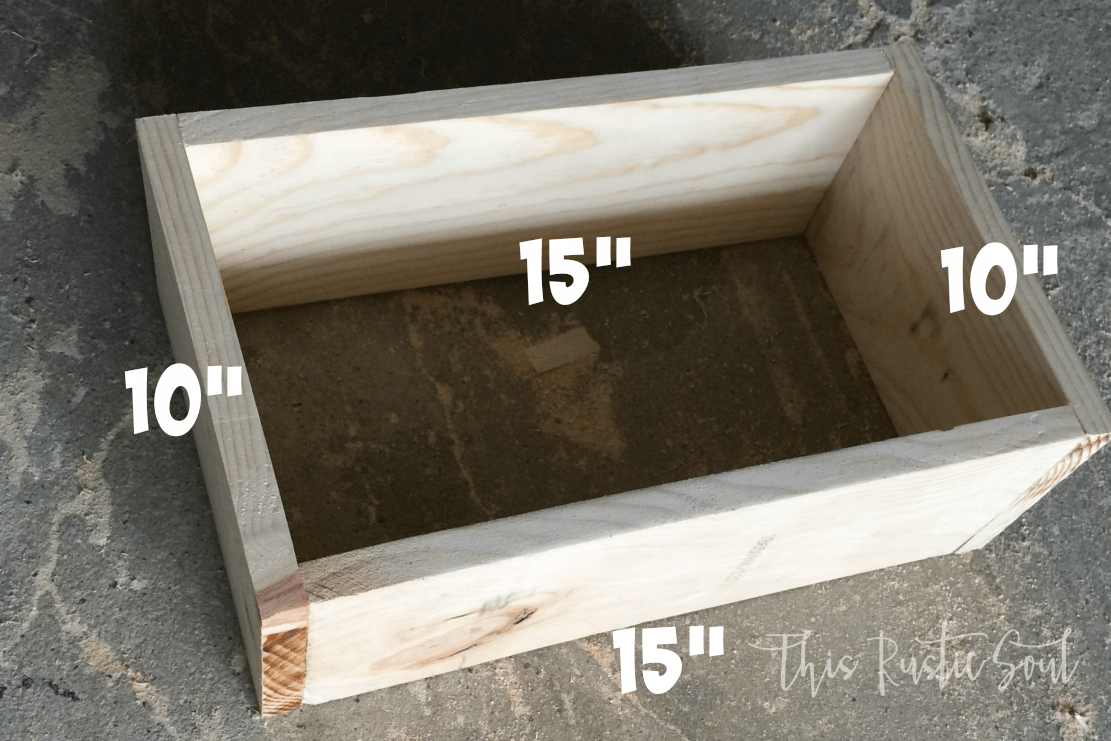
Use your wood glue to glue the pieces together, then use your nail gun to seal the deal. You can use wood filler later to cover the holes, but this project was supposed to look old, so I left the nails showing. I used my Ryobi 18-Volt One+ AirStrike 16-Gauge Cordless Nailer because, well, it’s totally the best!! Seriously guys, I’m not sponsored (yet!) by any of the companies or products I will talk about in my posts, I just love them so I think they deserve my praise.

For the back of the shadow box, cut a sheet of plywood to fit. Make sure you measure your box because it will vary, slightly. Mine measured 16.5 inches by 10 inches once the sides were assembled, so that was that.
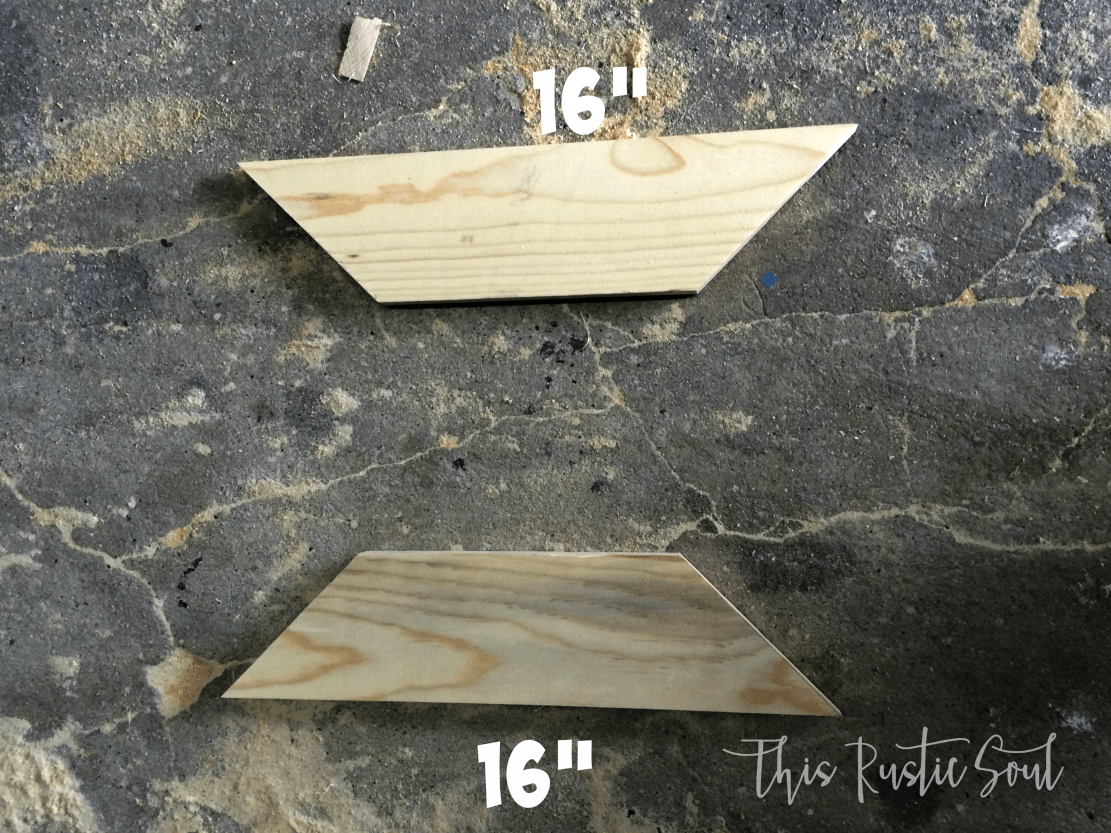
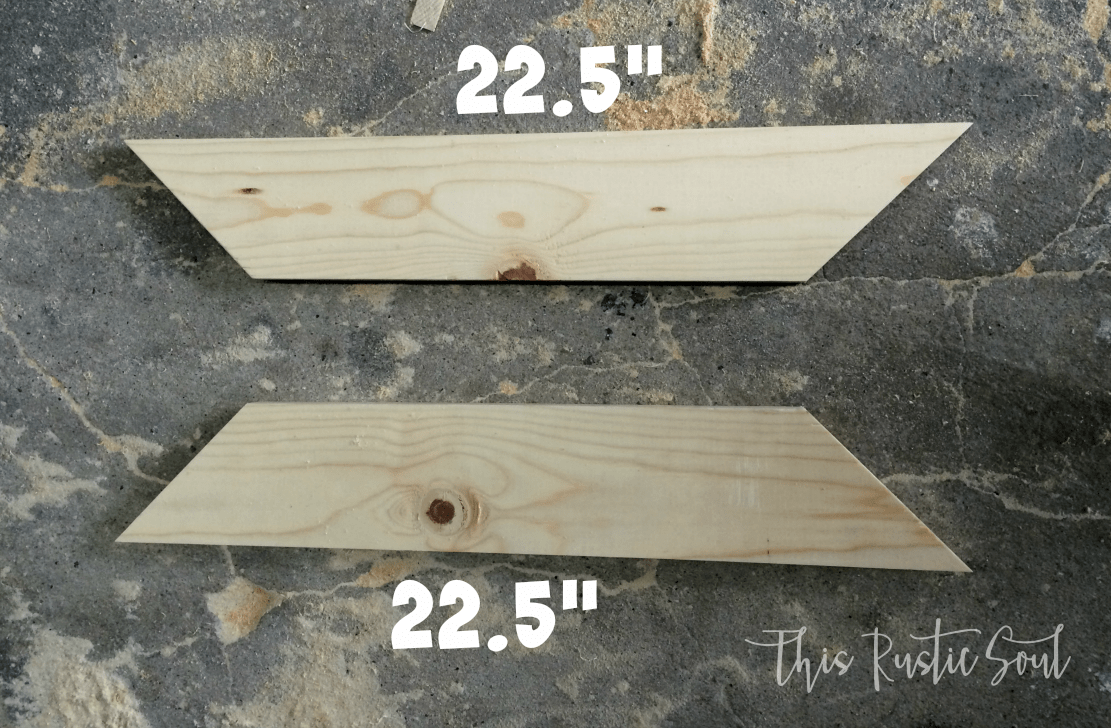
Next, you need to cut the frame for the shadow box. Grab your 1x4x8 and again, use your miter saw to cut at 45 degree angles, two 22.5 inch sections and two 16 inch sections.
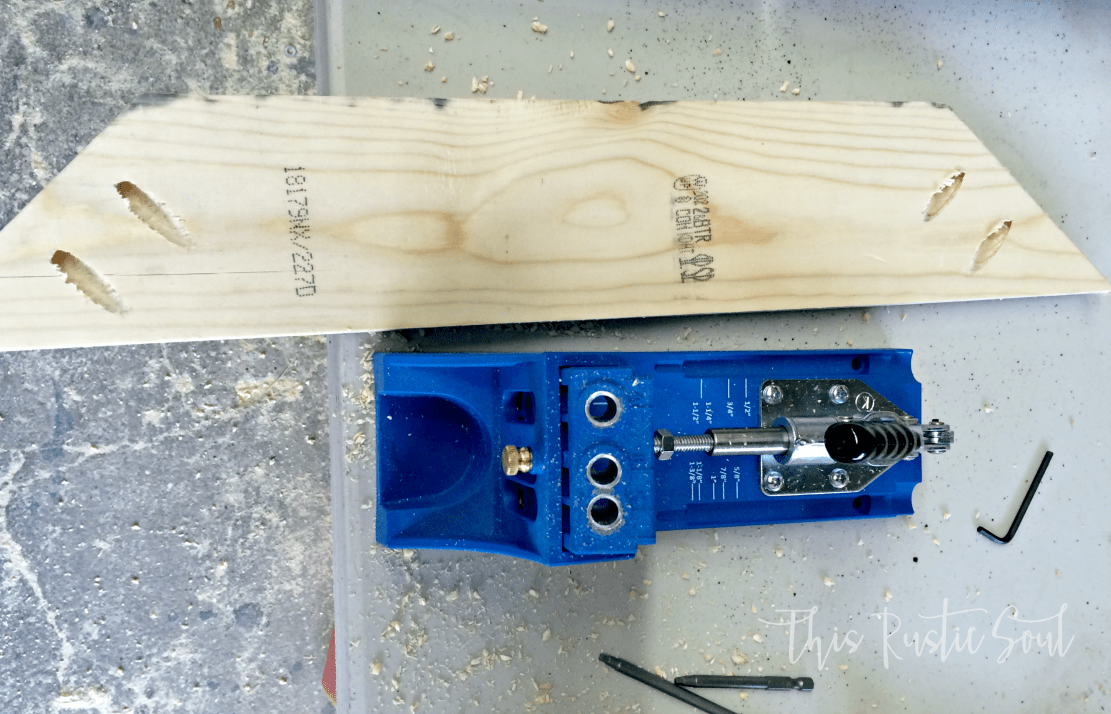
Alright!! Now, you are going to use that handy dandy Kreg Jig. I have to say, I was a little intimidated by this contraption, because yes, I’m still a newby in this whole wood working land…BUT once you know how to work this machine it is fantastic! Give it a chance, you will be super excited. I drilled my pocket holes in the back of my 22.5″ boards. If you don’t have a Kreg Jig, you can definitely still countersink your screws.
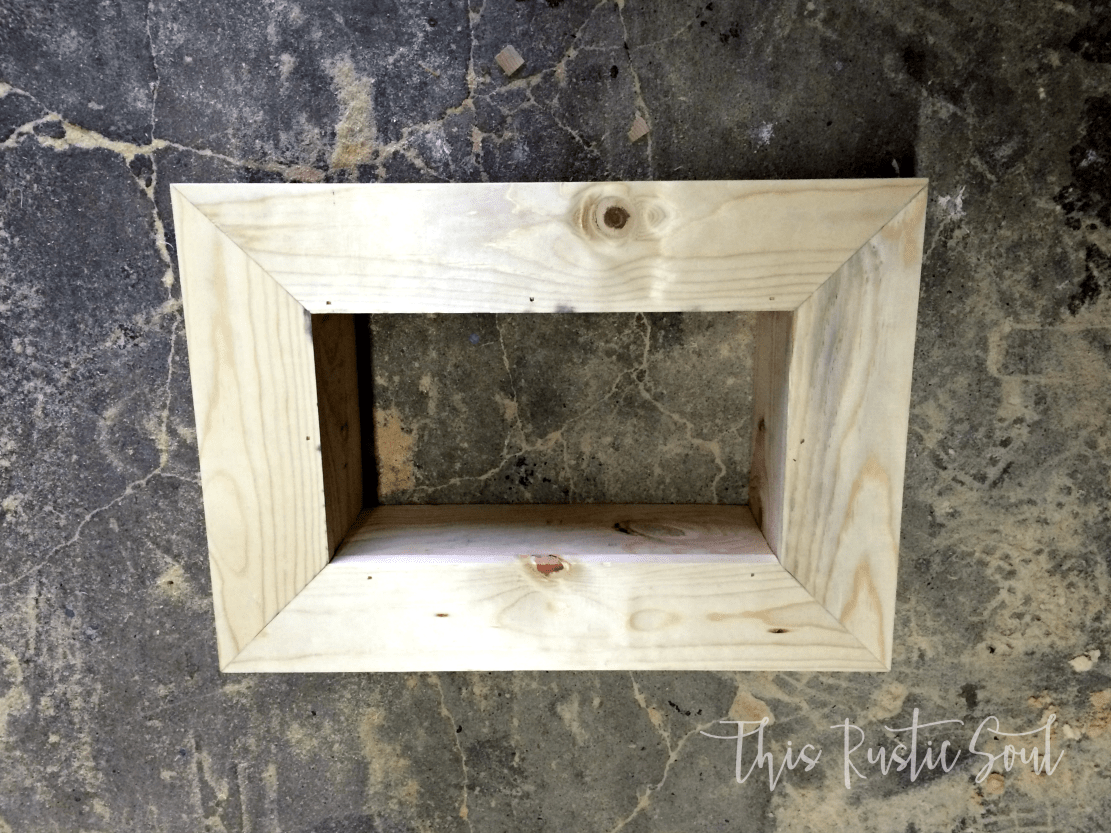
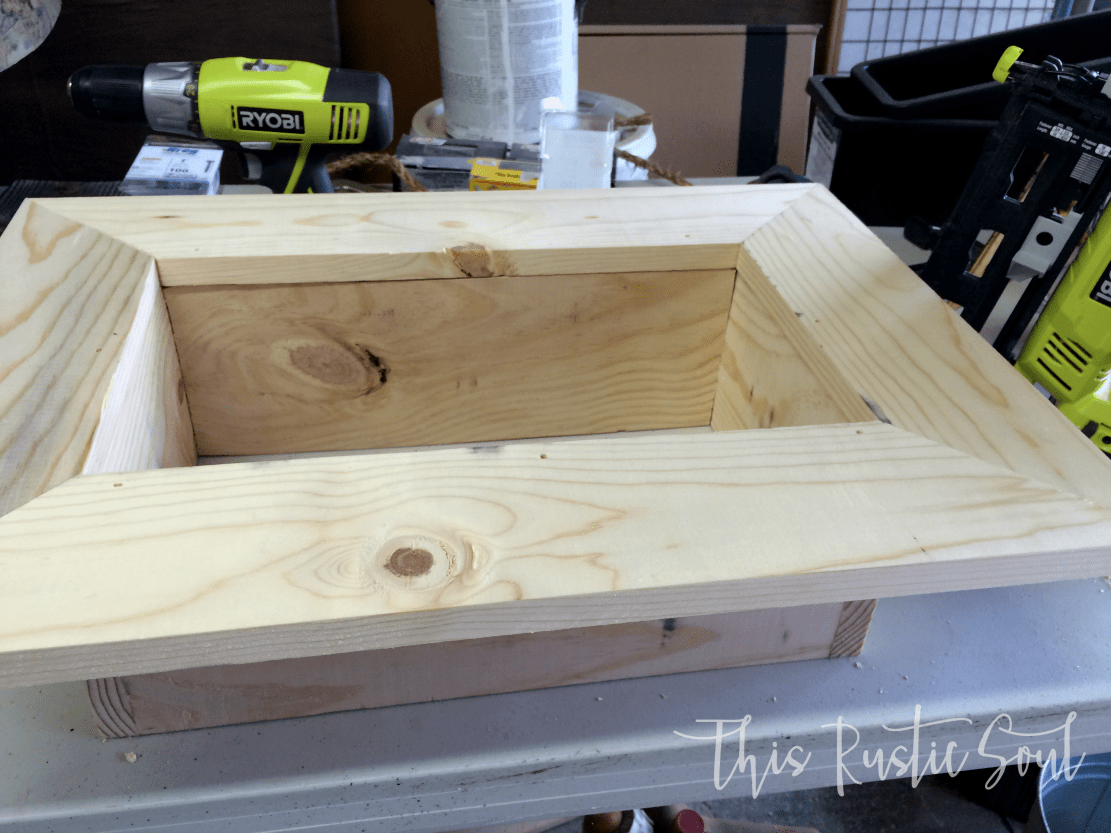
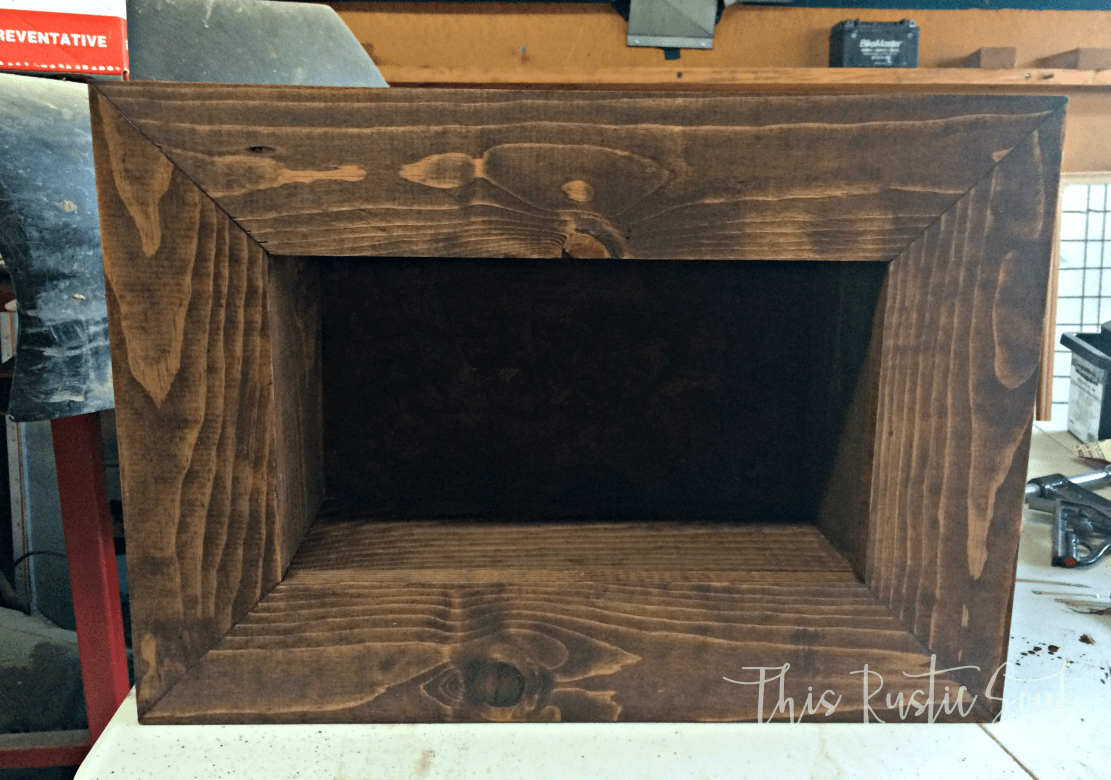
After you have all of your pocket holes drilled, screw your frame together. Make sure it’s a tight fit so the boards align correctly and you come out with a beautiful, perfect frame. I found the trick to this was using just a few clamps. That would be as many as it takes! Once your frame is assembled, wood glue it to your base and then pull out that mighty nail gun and once again, seal the deal (in my Bob Barker, Price is Right voice). Sorry guys, I sure can’t help the dork-i-ness…I will try…noooope! Then stand back for a sec and admire your work.

Now for the fun part! Stain it up! I used one of my favorite Rust-oleum stains in Dark Walnut. Here it is:
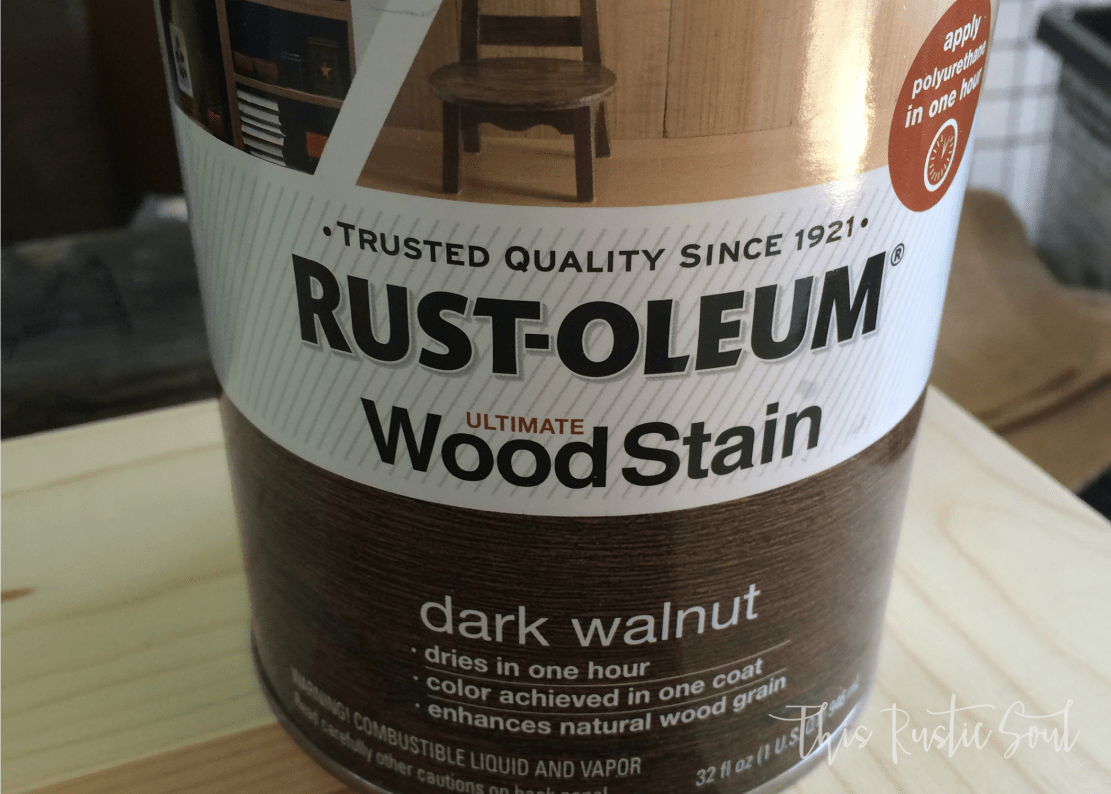
I only did one coat of the stain because I wanted it to be “rustic”. Are you guys seeing a pattern??
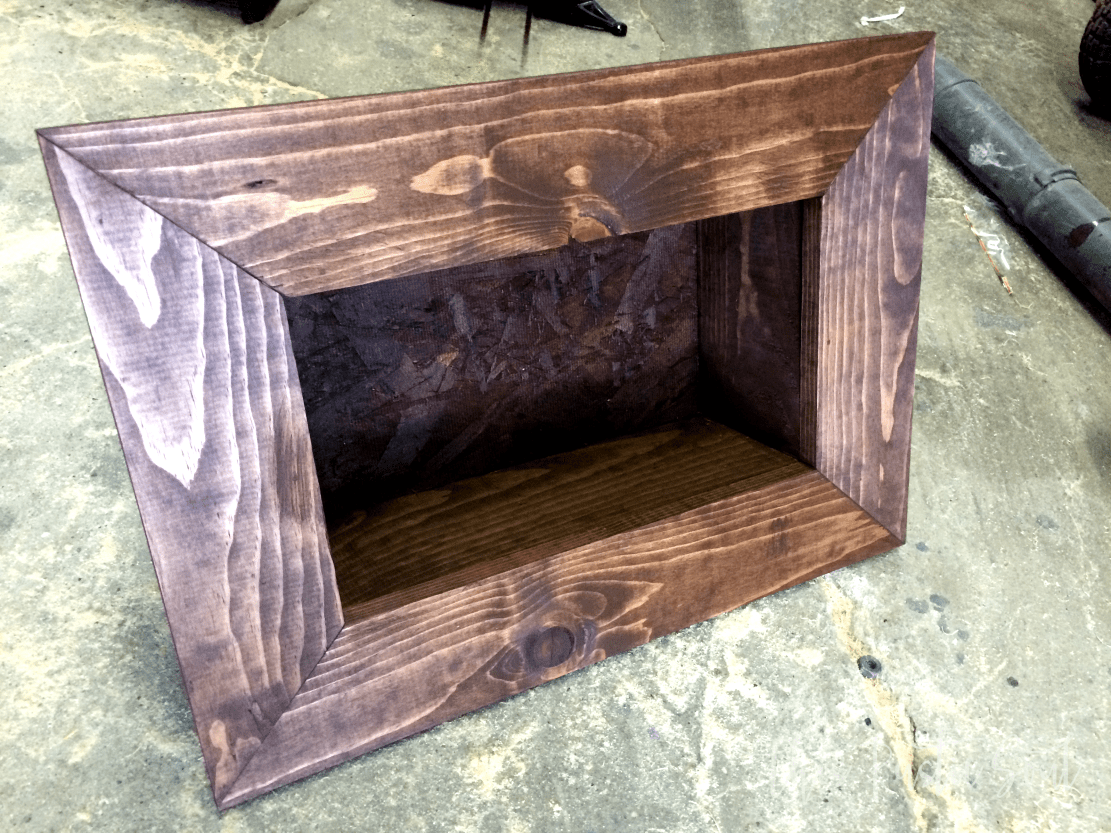
Don’t mind the blower my boyfriend left in the background of the picture. He has quite the time putting things away, bless his little heart, God knows I love him anyway!
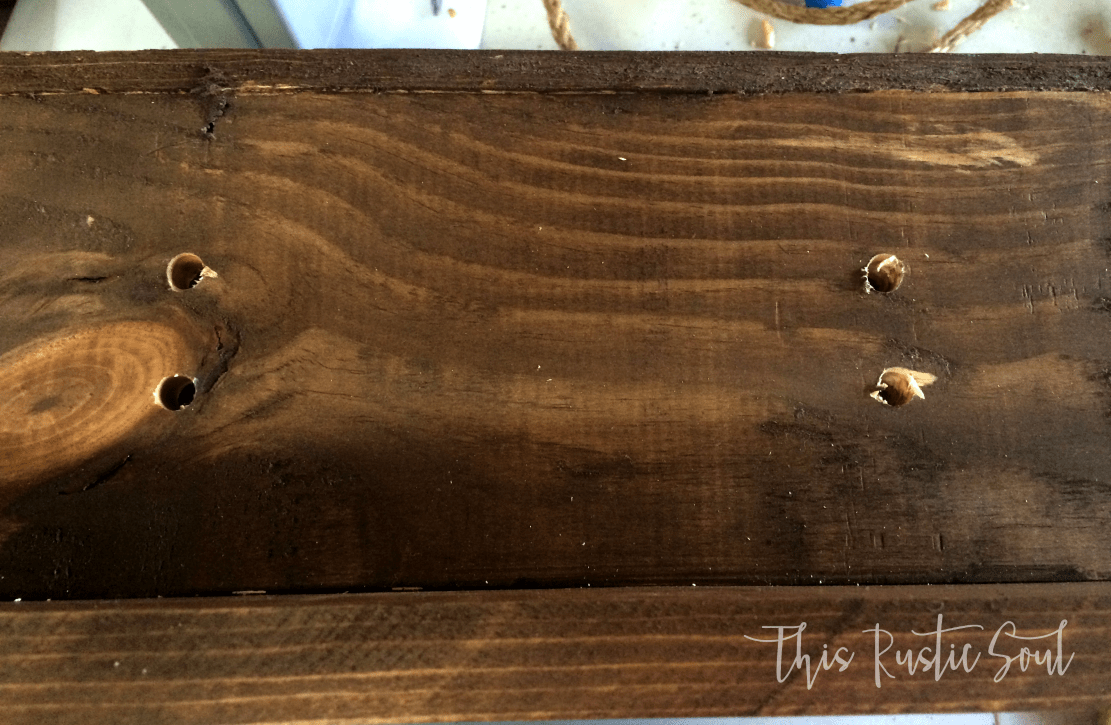
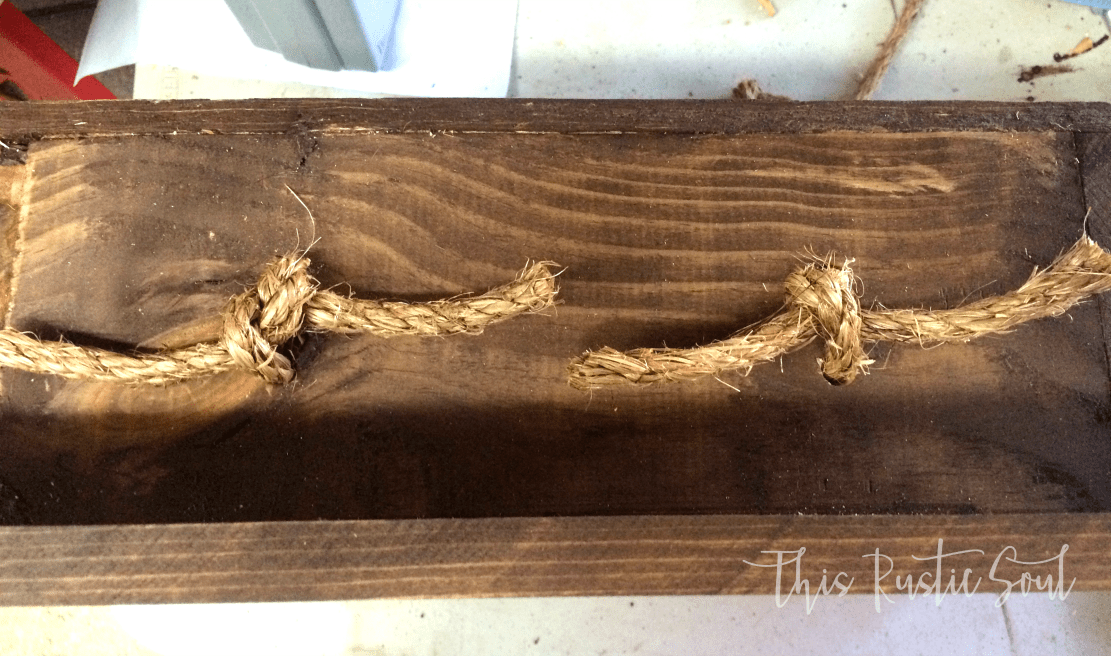
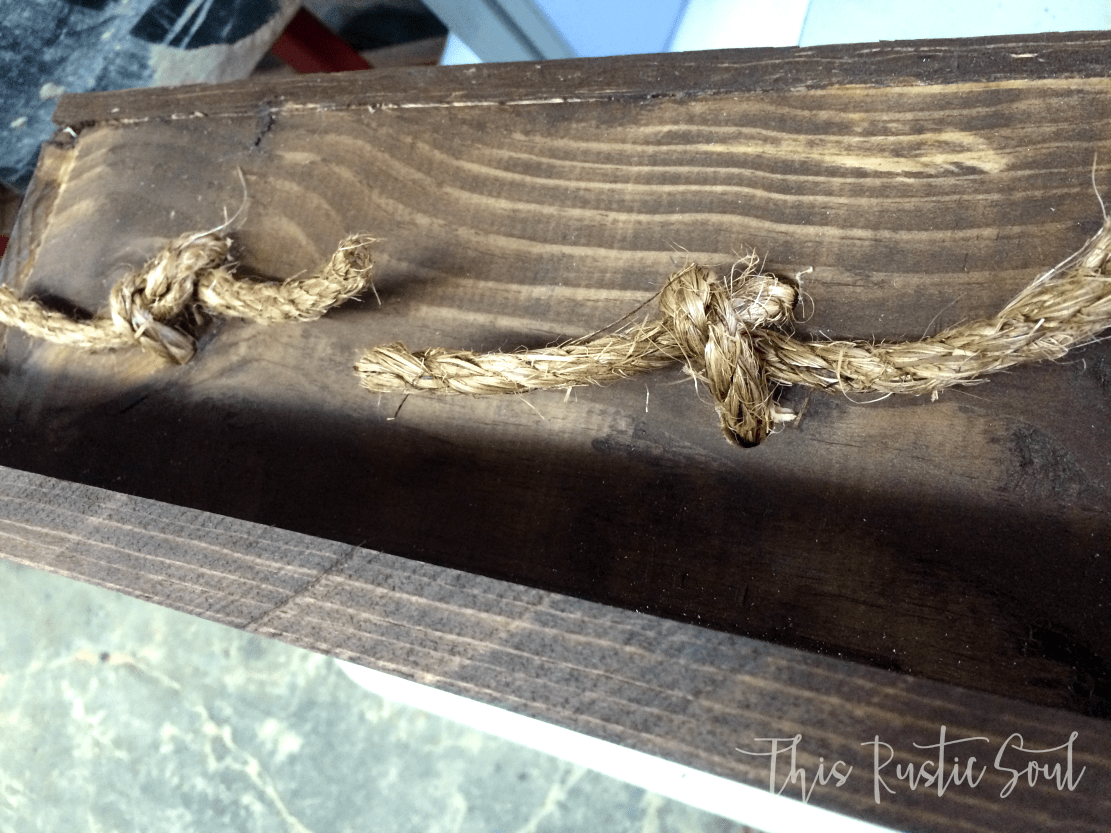
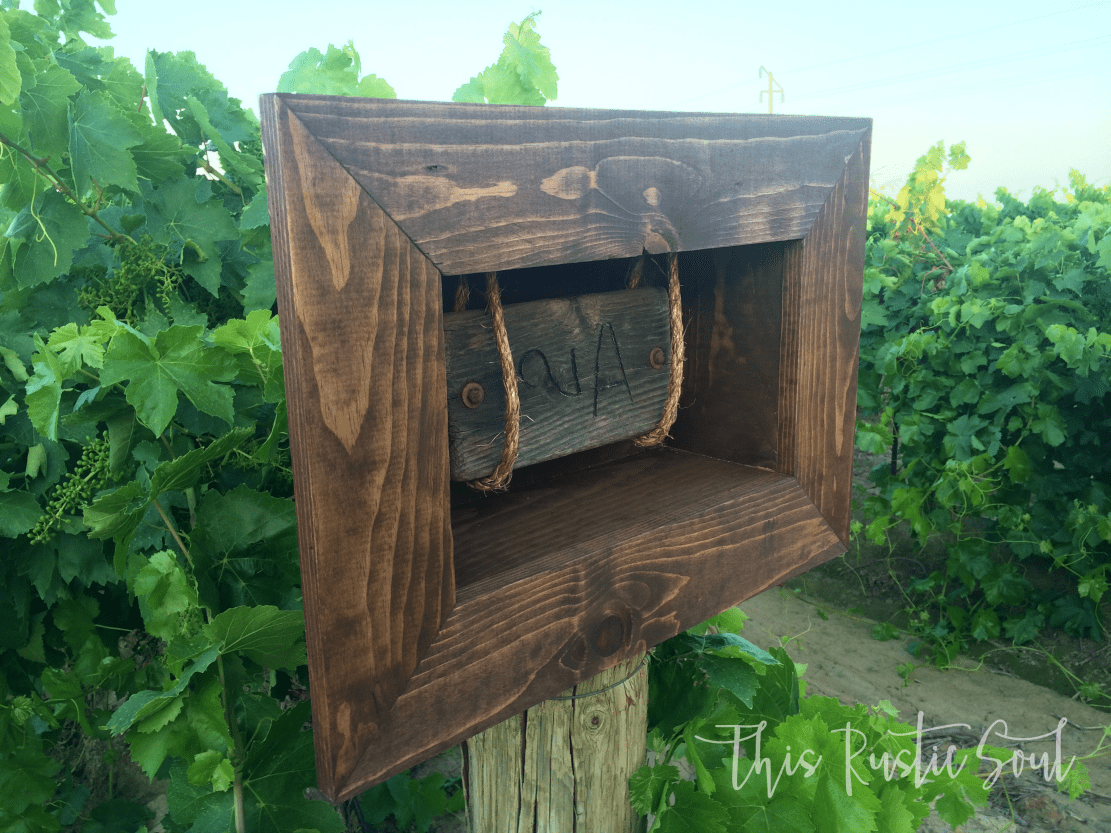
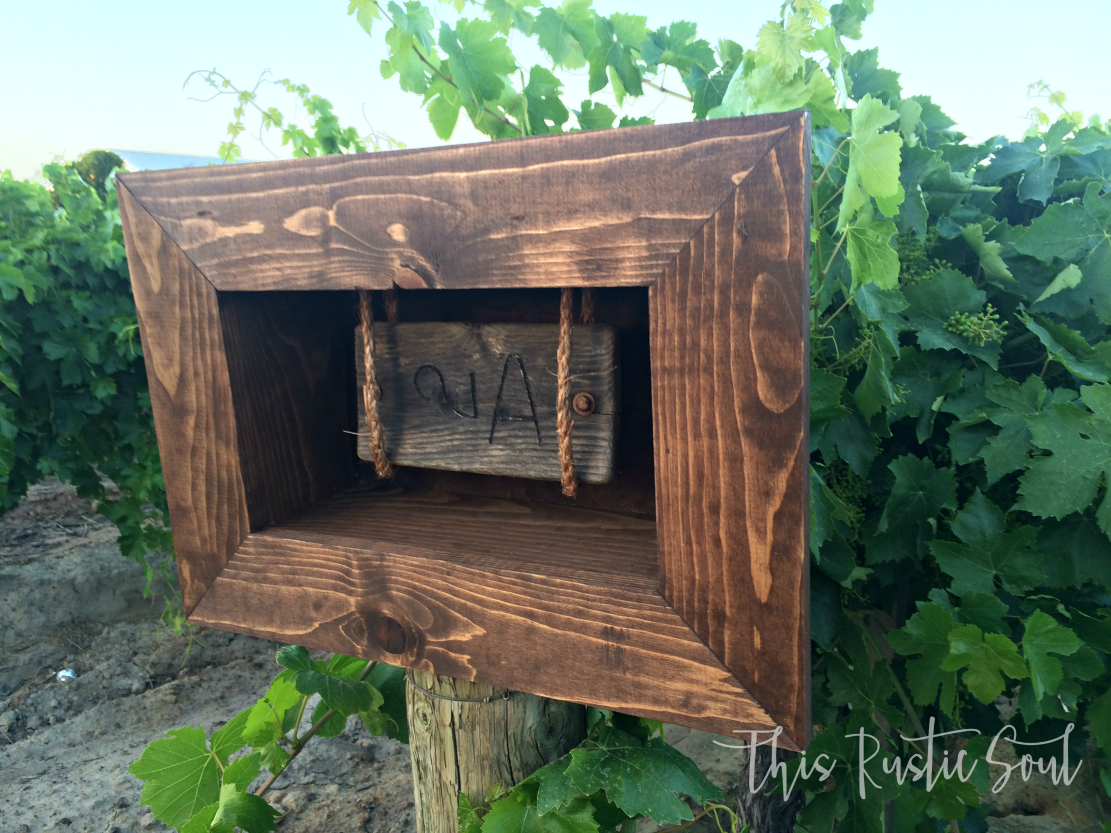
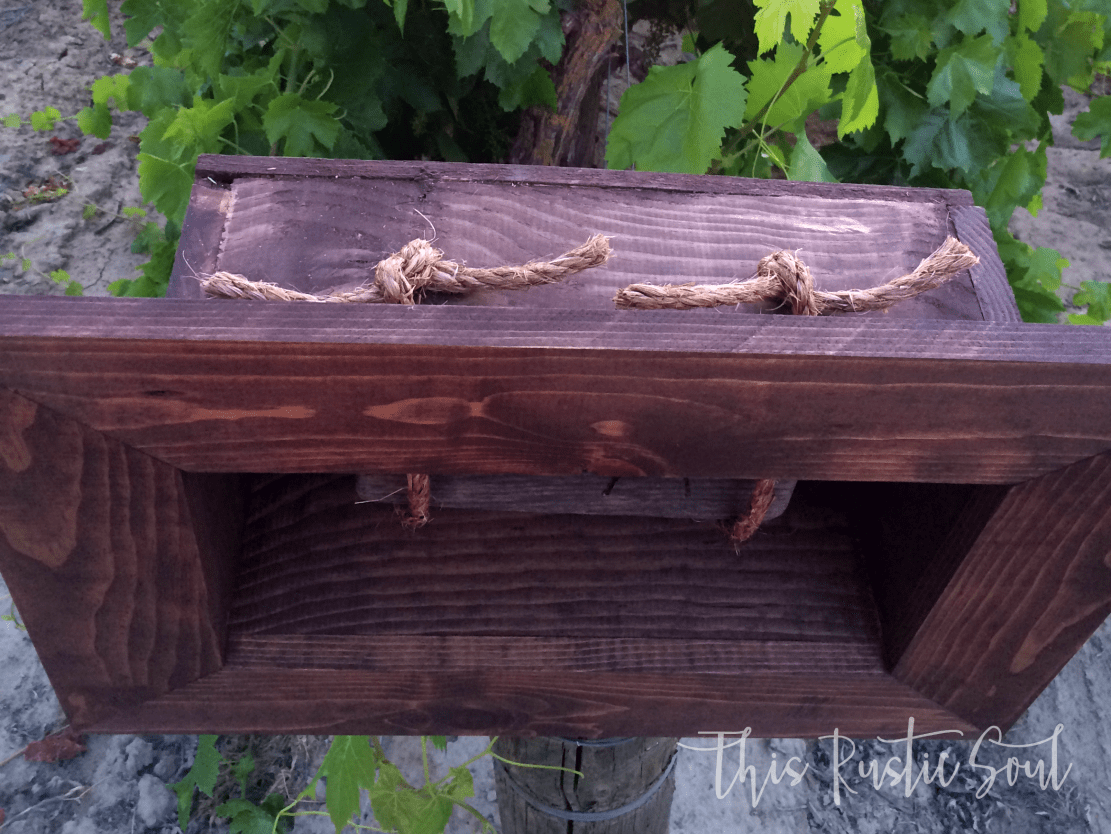
Next, you will need to drill the holes for the rope to hang your piece. I believe I used half inch rope so I used a half inch drill bit to drill my holes. However, I now recommend using a slightly larger drill bit to drill your holes so that your rope is easier to pull through. Once you tie the rope in a knot you won’t see the holes. The length you cut the rope really depends on the subject you are going to put in it. Just measure where you would like your subject to sit inside the box, and cut the rope accordingly.
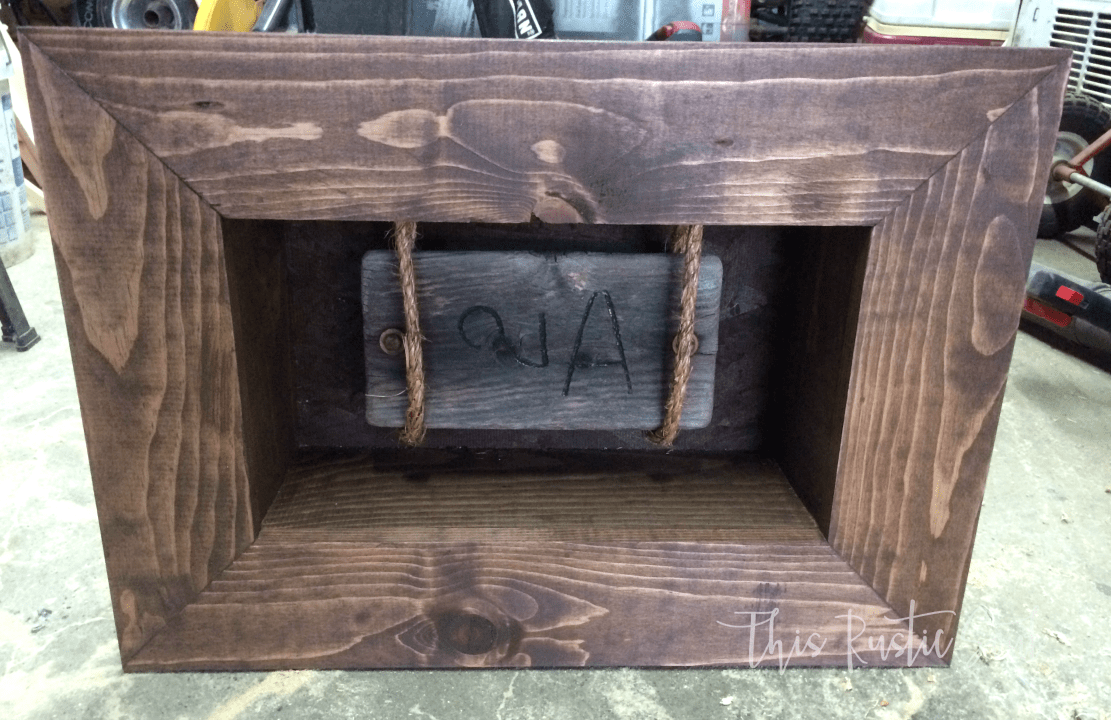
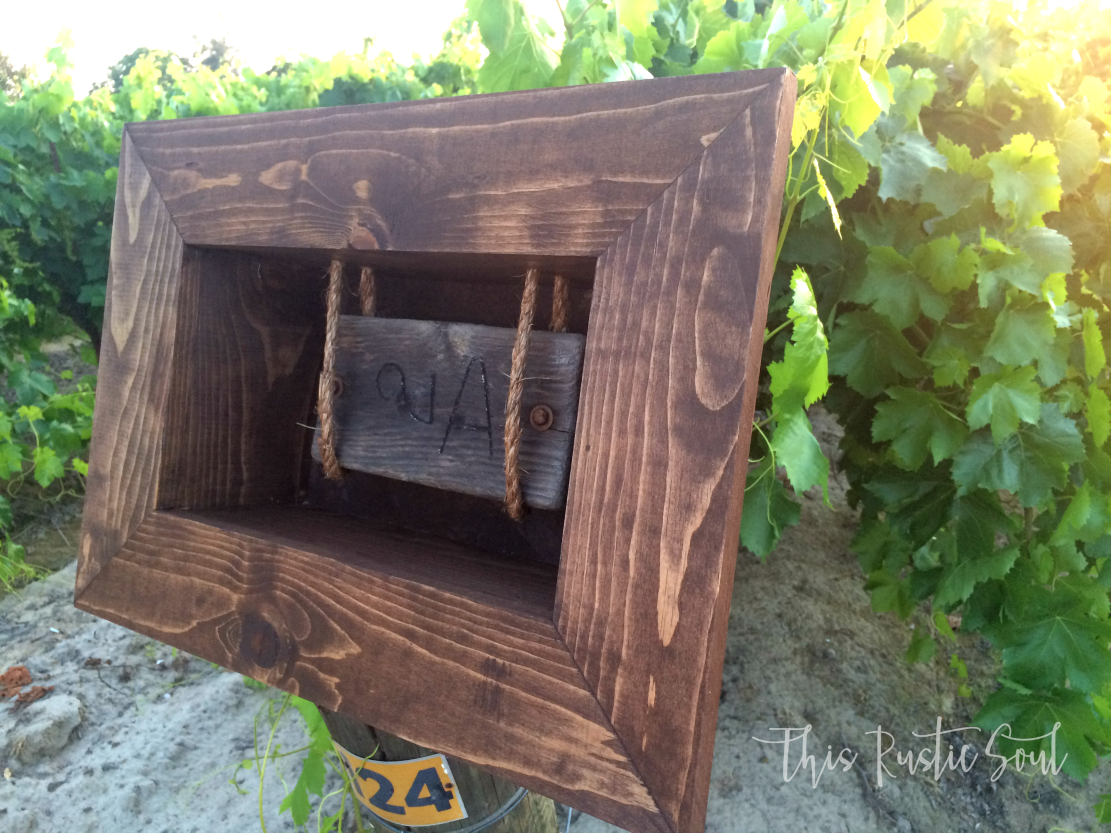
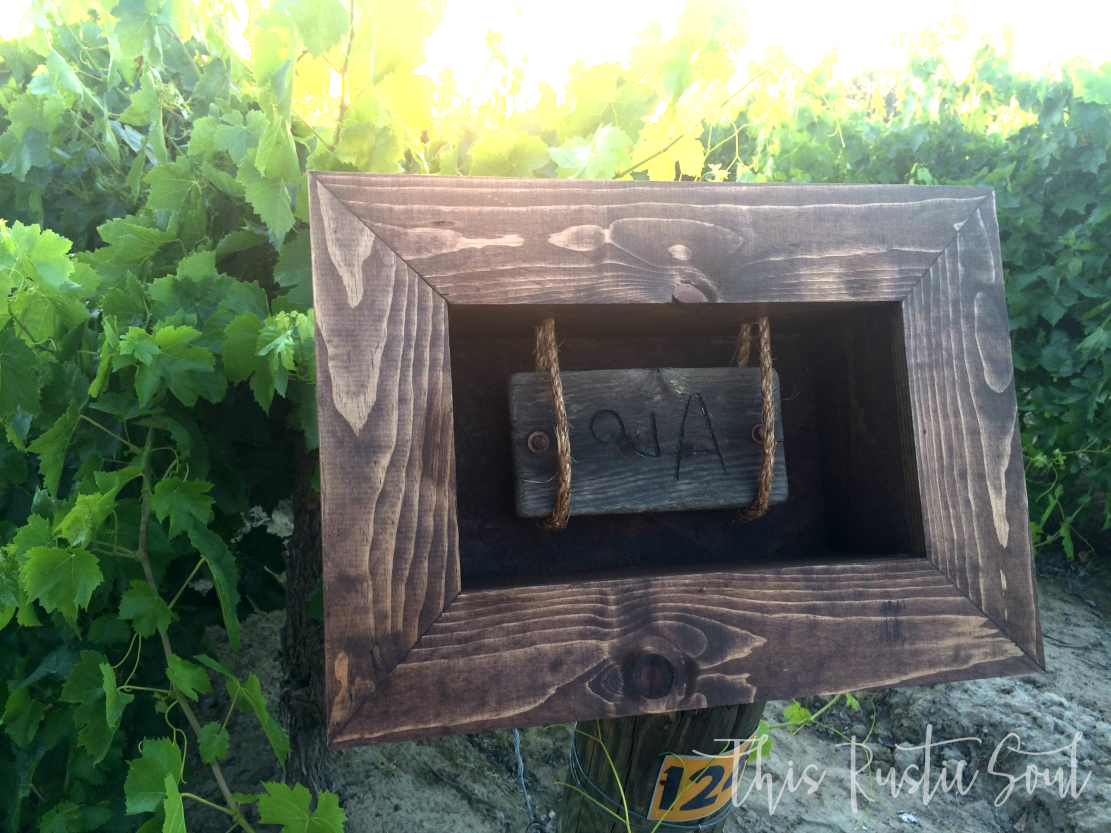
Now, insert your piece of art and get ready to jump up and down like a child! Or just say “wow”, whatever works for you…I’m pretty certain I did both.
I hope ya’ll liked my first post! Please feel free to leave me comments or questions below and don’t forget to subscribe to see what’s next!!
Twisted and Delusional
Great first post! You set the bar high. The site looks good too!
s.hoover24@hotmail.com
Twisted and DelusionalThank you!! 🙂
Jacqui
Love it, super easy to fallow along. Now I’m gunna need to make one.
s.hoover24@hotmail.com
JacquiThank you! I can help you!
Debanny
Love your story about your grandfather. Rich & I hope to have the same influence on our grandkids?
s.hoover24@hotmail.com
DebannyThank you, and I am sure you will! 🙂
Tiana
i love it!!!
s.hoover24@hotmail.com
TianaThank you!!
Philix
great web site.