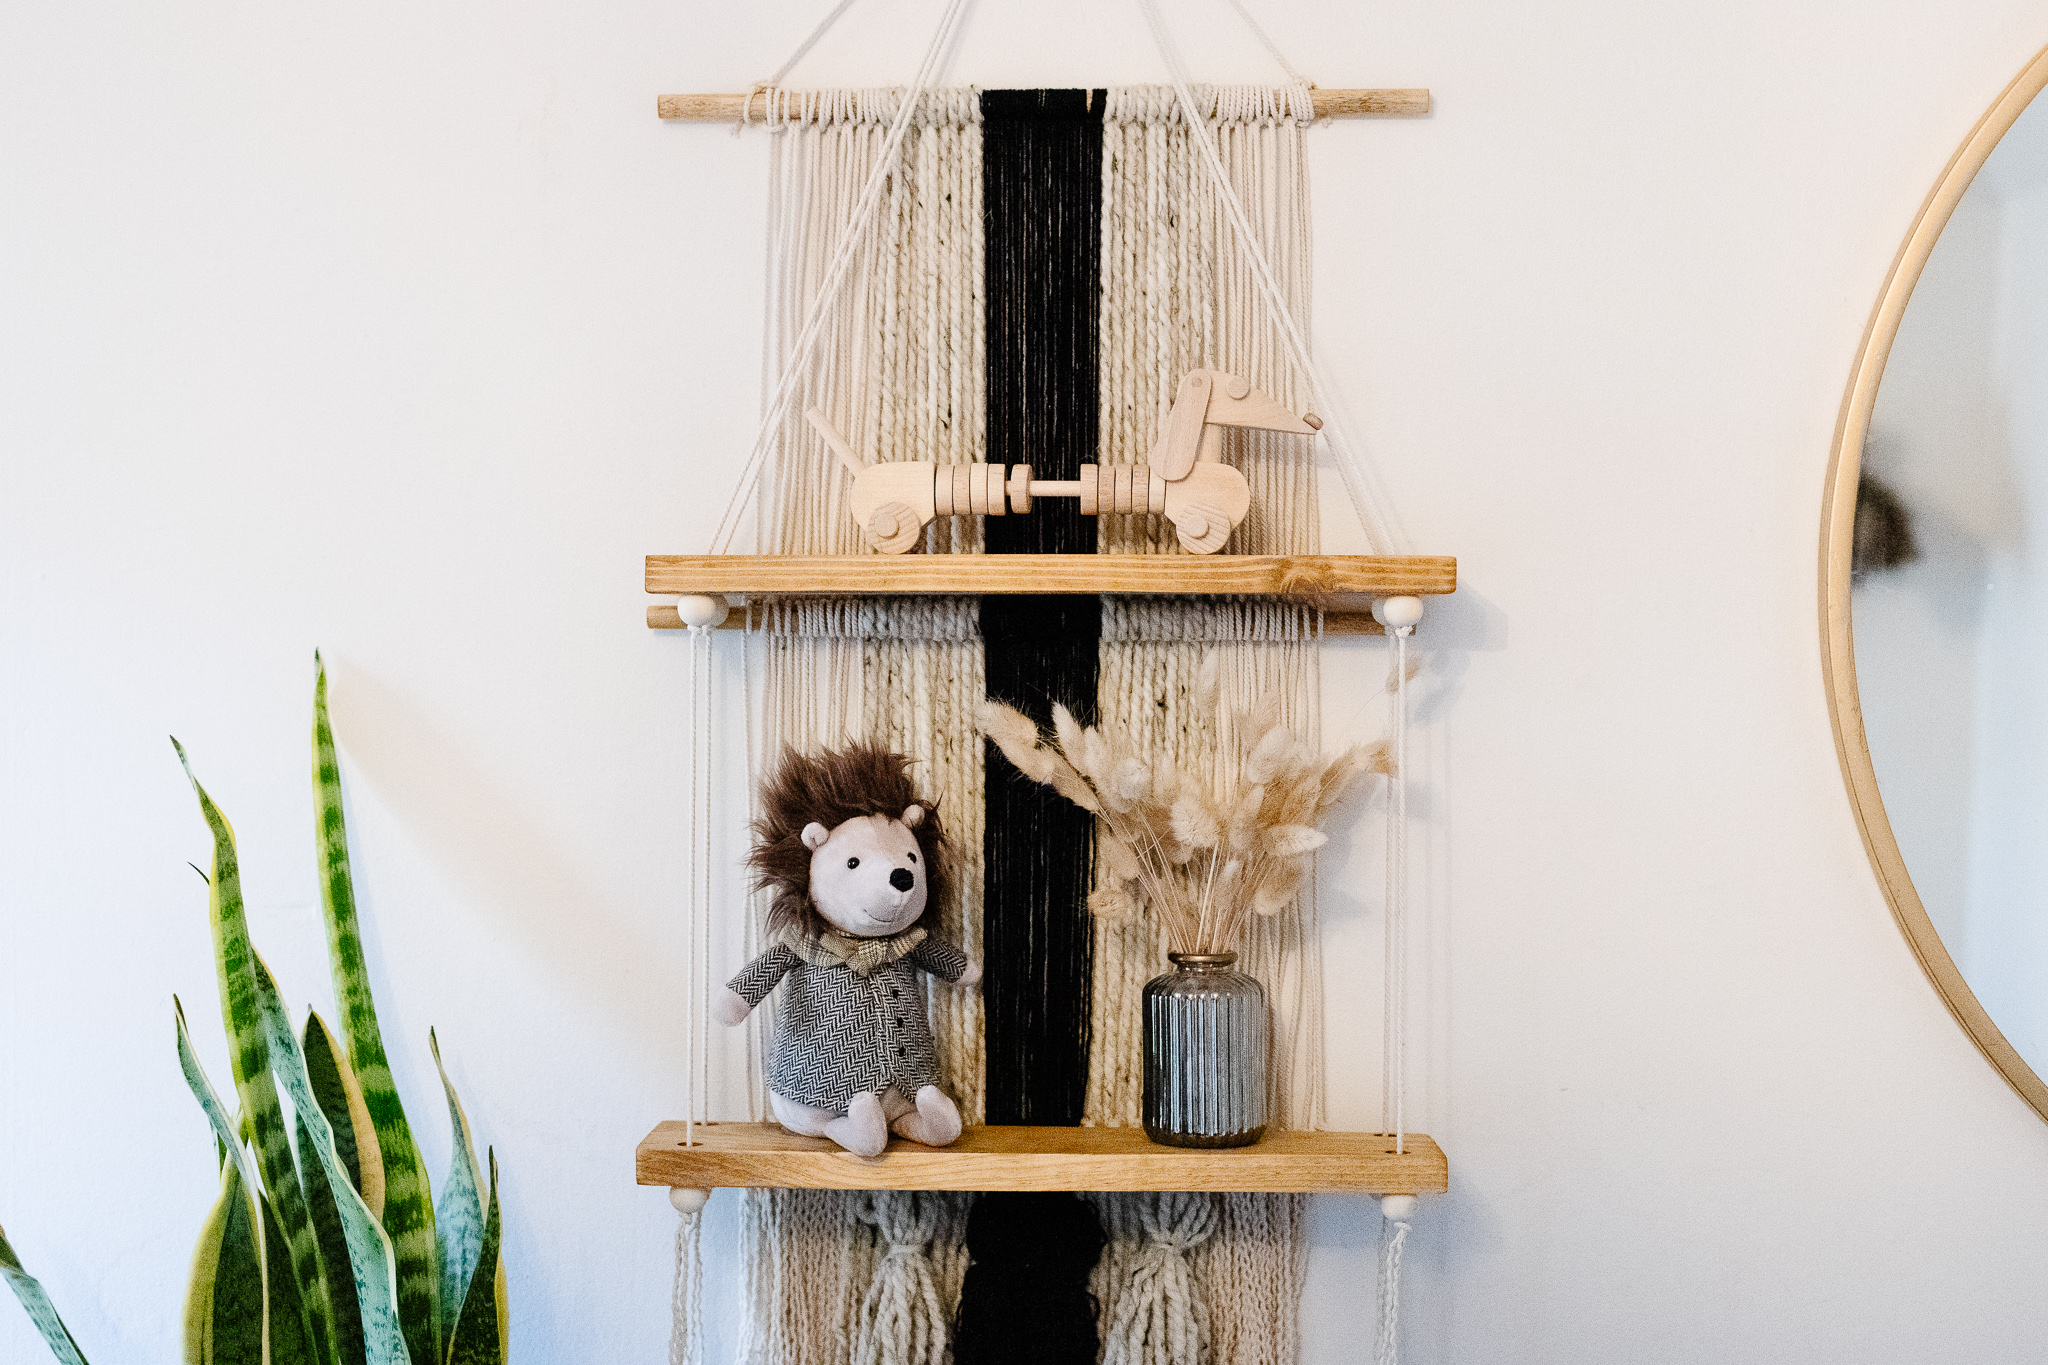
Anyone else get the January blues when taking down their Christmas decor? Ugh, it’s the worst. It always leaves my house feeling empty and wanting. Good thing my mind is constantly turning and creating new projects in empty spaces. Well, maybe not a “good thing” but that is definitely how it works. After we took down our Christmas decor in my son’s room I realized we needed something fun above his dresser, next to his huge gold mirror…a shelf…a wallhanging…a wallhanging shelf?!? I always have scrap lumber laying around and a basket full of random cords, yarn, and string. That and a little time is all it took to bring this boho wallhanging shelf to life!
Here is what you will need to make one of these bad boys:
- scrap lumber or a 1×4 and 1/2″ dowel
- round wood ring
- cord
- yarn
- wood beads (optional)
- scissors
- miter saw
- drill bit
- sander
- stain
STEP 1:
Collect scrap 1×4 and 1/2″ wood dowels. You can use wider boards and dowels if you want a larger wall hanging or shelf. Cut to length. I cut mine to 16″.

STEP 2:
Measure and drill 1/2″ holes in each corner of each shelf. You can use a smaller or larger drill bit depending on the width of your cord. If you are braiding or twisting your cord I would use 1/2″ or larger.

STEP 3:
Sand shelves and dowels.

STEP 4:
Stain shelves, dowels and wooden ring. I used Golden Oak by Varathane.

STEP 5:
While waiting for the stain to dry you can gather your yarn, cord, string, or whatever you choose to use in your wallhanging. I used supplies that I already had on hand but your options are endless! There are thousands of examples on Pinterest or Etsy that you can draw inspiration from. YouTube also has great tutorials for macrame hangings if you want to get real fancy!
STEP 6:
Put together the base of your wallhanging. I used macrame cord to tie all of the dowels together. There are so many different knots you can use, my best suggestion is to look up macrame tying videos on YouTube. So, so many to choose from. Go with what you like to see. I just used good ole, regular, shoe lace knots here. I hung this in place to determine where I wanted each shelf. I’m a visual person and sometimes seeing it in place helps for size reference. The shelves will sit on the bottom two dowels. The shelves hang independently, so you don’t have to use all three dowels if you don’t want to. You can just tie the cord/yarn from the top dowel and let it hang behind the shelves if you’d rather. I wanted my hanging to be tight and not move around too much behind the shelves.

STEP 7:
Tie the cord, yarn, and string to the dowels. Again, there are so many methods to this, just do what works for you and have fun! I cut one cord to length, tied it on the dowels to make sure it was the right length, then used that to measure out each strand. I cut everything first and laid them in piles to make it easier when once I started the hanging. I also ended up adding a few tassels to the bottom of my hanging to give it a little extra whimsy.

Here is a quick time lapse of the hanging process.
STEP 8:
Hang the shelves. I used my macrame cord again and wooden beads underneath the corners on each shelf. Then I just tied a knot under the wooden beads. It took a little patience and would be easier with another person, but you can do it!


Now decorate that thing and do a happy dance! If you want to see more tips about this build, follow me on Instagram @thisrusticsoul. I shared each step in my stories and created a highlight for it. As always, let me know if you have any questions!